Produce Sales Invoice
Purpose:
The creation of Sales Invoices.
Processing:
Go to Customer > Produce Invoice.
Opens the Select Customer form – see Edit Customer to view form.
Select the customer from the dropdown box or the cloud link list.
The Sales Invoice form appears –
Sales Invoice Header Page
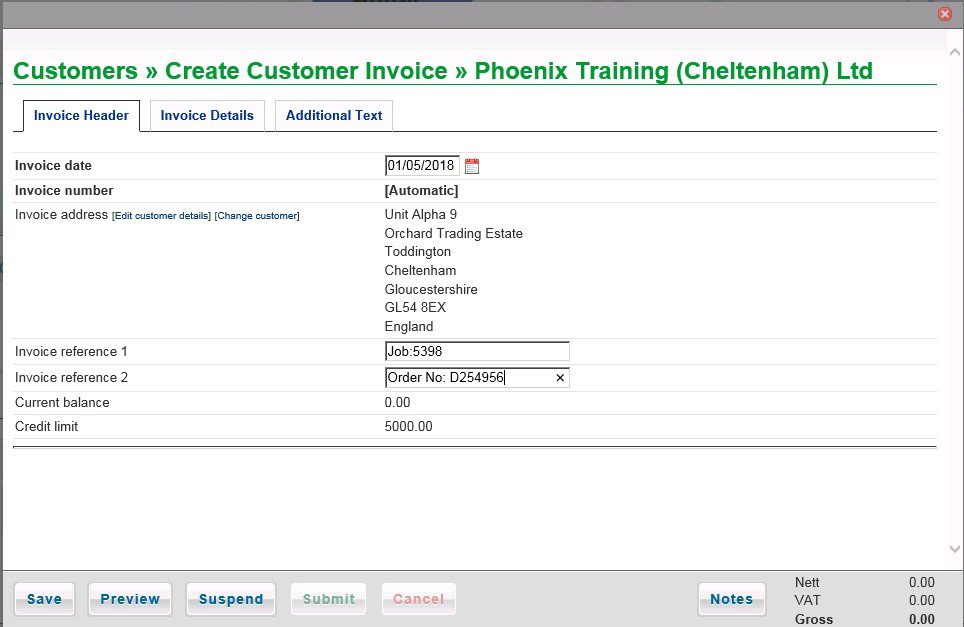
This form is completed in the same way as quotes – just date and references to be entered – see Produce Quote and Datepicker.
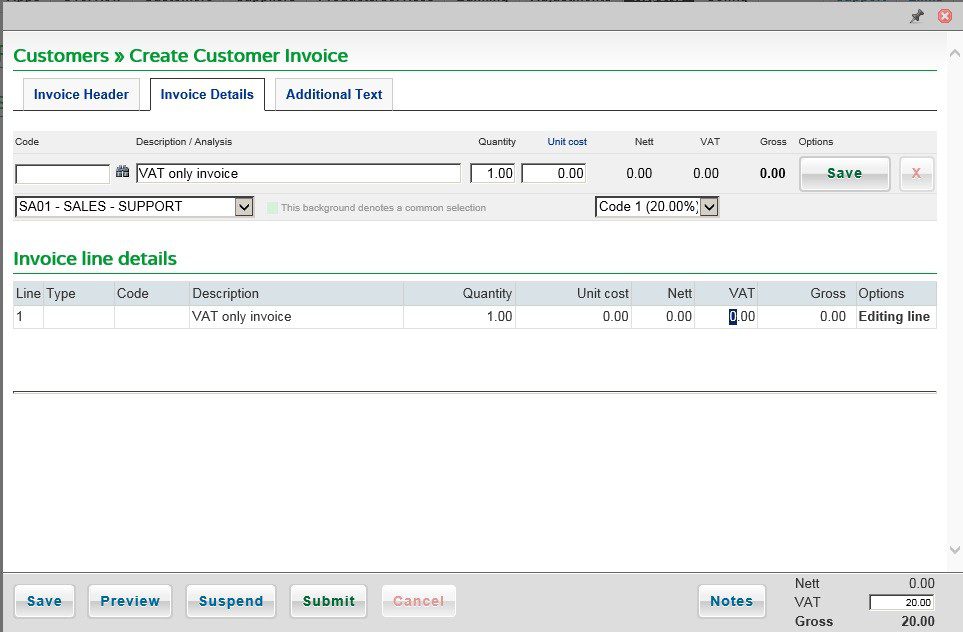
Sales Invoice Details Page
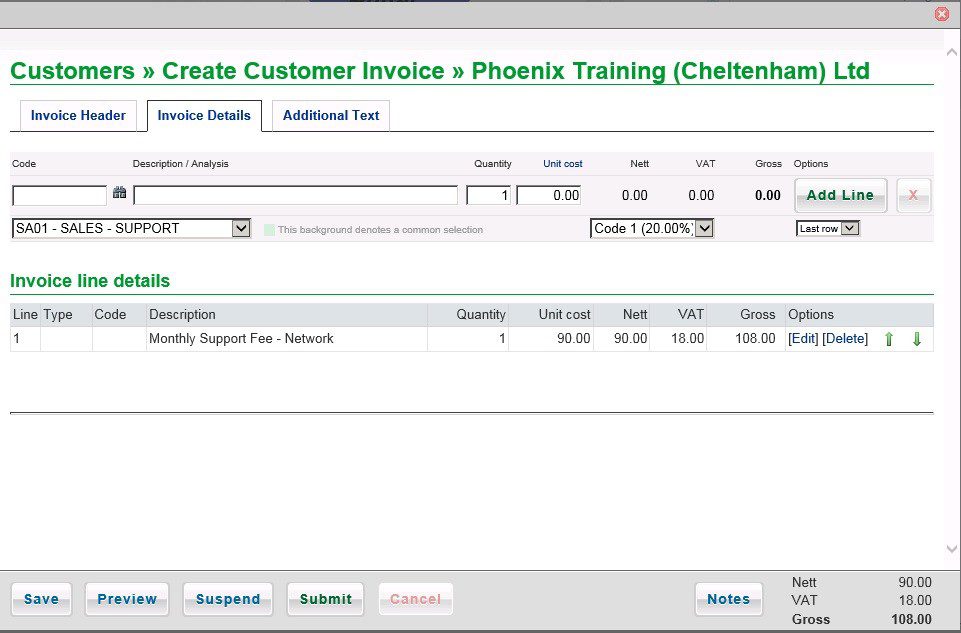
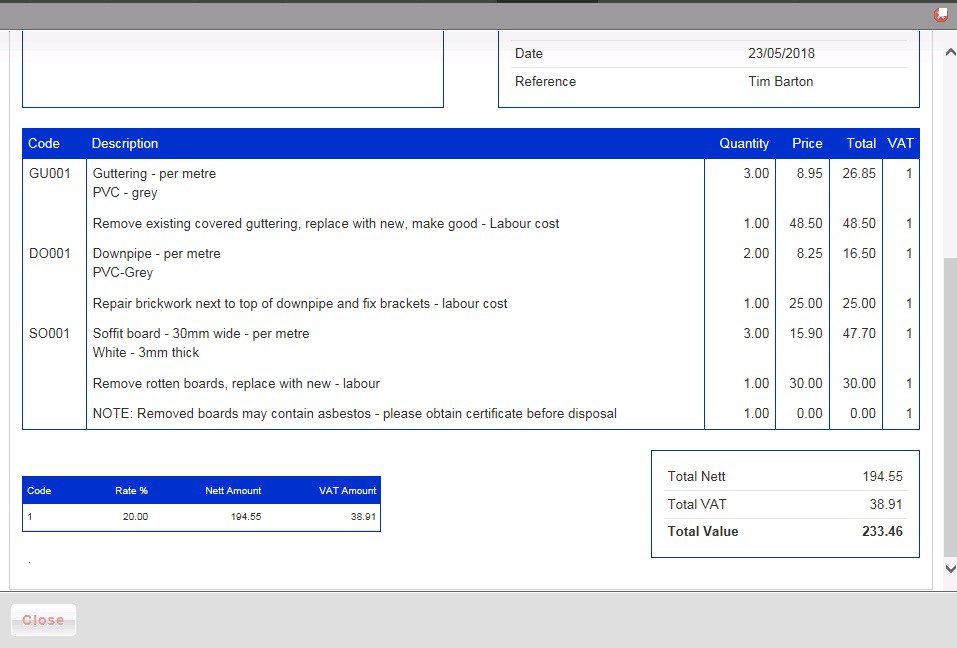
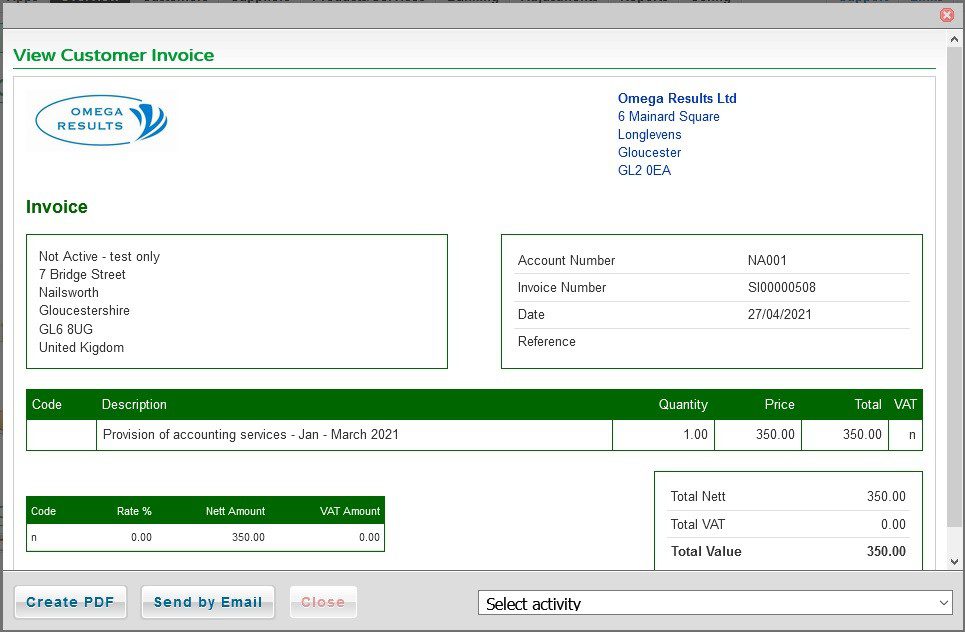
This form is completed in the same way as quotes – Note amount of detail which can be added – Previewed invoice looks like – (extract).
Processing:
1. Select stock item by clicking on the binoculars symbol which will then populate the Description/Analysis box OR
2. Enter details in the Description/Analysis box. Important Note: You can enter as much text as you wish in this box even after the stock description selected – this text will automatically wrap round on the invoice. To create spaces between paragraphs simply start a new line, add text into the box but don’t add anything else.
3. Enter Quantity and Price – or overwrite or accept stock/service price.
4. Click on Add Line to add details to the grid – above, one has been added and one is available to be added.
5. To edit a line click on that line’s [Edit] caption – the line will display editing line and put the details in the top section – edit the top section and click on Save.
6. To delete a line click on the [Delete] caption – you will be asked to verify before the line is deleted.
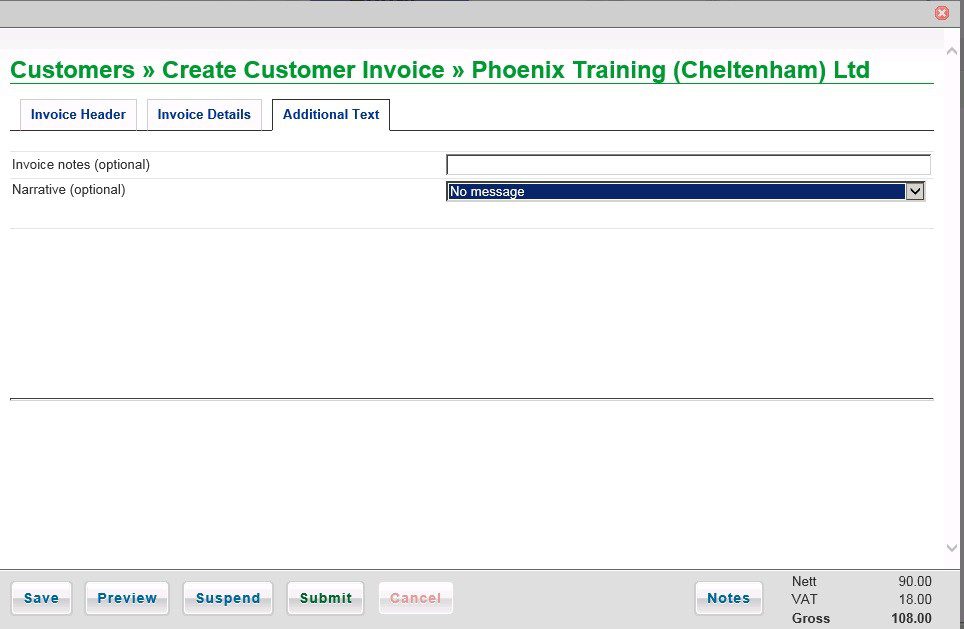
Click on the Additional Text tab to add notes or further details to the Invoice – add notes and a narrative or select payable on presentation plus bank details. This Additional Notes information appears in the footer of the invoice.
Additional Text Page
Preview Button – Gives a preview of the order for you to check before saving.
Suspend Button – Allows you to save and come back to later – go to Customer Overview > Invoices and Credit Notes and select the invoice, then click Resume editing to continue.
Save Button – Saves the invoice so that further information can be added later – can only be used once. The invoice can be found in the Pending section.
Submit Button – Saves to the invoice records and posts to the customer’s account.
When complete, the final document is available to send by email or print as a .pdf – this can be attached to an email or sent in the post.
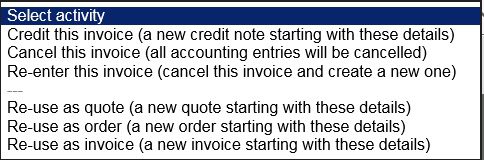
On the final page there are Select activity options for further action. These can be done immediately or later.
Note: Please check whether you have produced a quote and/or order first – if so use the facility in Quotes or in Orders – Convert to Invoice –
1. To Convert a Quote to an Invoice ( To convert an Order to an Invoice).
2. Click on Customers – Title bar.
3. Then click on Quotes tab ( Then click on Orders tab).
4. Identify relevant quote and click on View.
5. Then select Convert To Invoice from Select Activity menu.
The Sales Invoice form opens with the details of the Quote (Order) filled in – amend if necessary and Submit.
VAT only invoices can be produced – on the details tab simply enter a description with no values and add the line, click on the VAT amount and enter the amount of VAT.
A non-stock invoice can also be produced –
Invoices can be printed – pdf , saved as a pdf or sent direct by email – to send by email create the email settings in Apps > Company Profile – see https://help.prelude.software/knowledge-base/company-profile/