Post Sales Invoice
Purpose:
To post invoices individually created from outside of the system.
Preparation:
If you wish to use your own invoice numbers change the settings in Set Customer Preferences.
Processing:
Click on Customer > Post invoice.
Opens the Select Customer form – see Edit Customer to view form.
Select the customer from the dropdown box or the cloud link list.
The Post Customer Invoice form opens –
Header Page
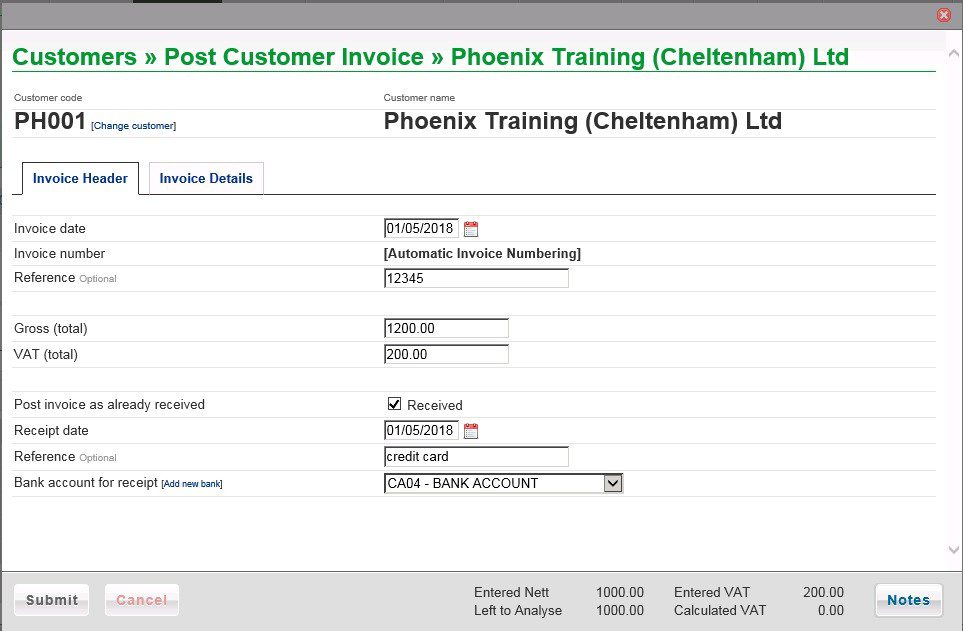
- Enter date – see datepicker.
- If configured to use invoice numbers enter the number – see above.
- Enter a meaningful Reference.
- Enter total amount (Gross) from the invoice.
- Click on Invoice Details tab –
Note: You can change the customer if the wrong one selected, and add a new bank.
Details Page
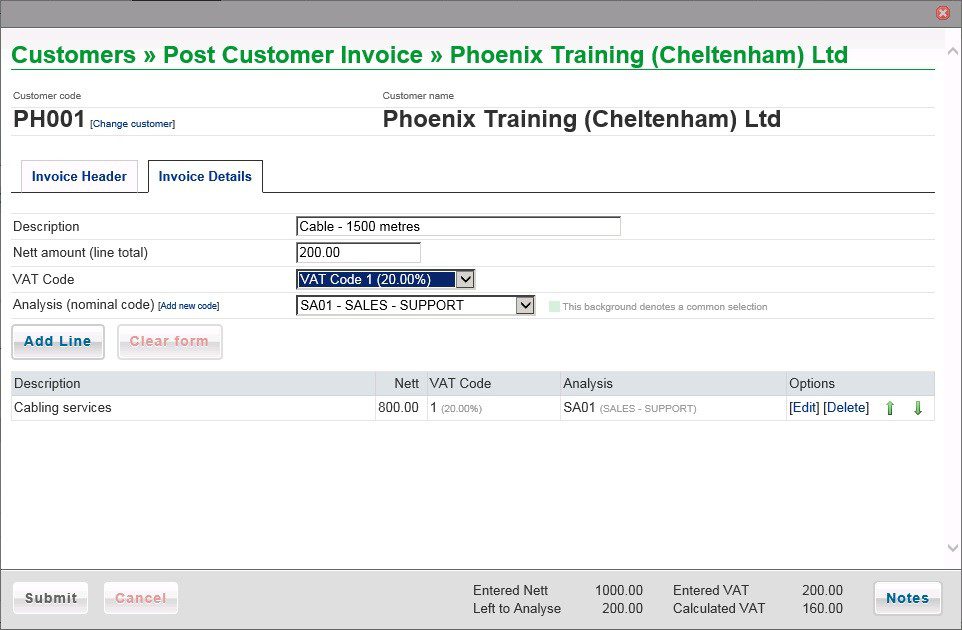
- Enter a Description for each line on the invoice.
- Enter Nett amount for the line, select VAT Code and Analysis Code.
- Click on Add Line to add to grid and update Calculated VAT.
- Repeat until Left to analyse = nil and Entered VAT and Calculated VAT are the same – you may need to amend the VAT on a line – Click on [Edit] on the appropriate line in the grid.
- You can also delete a line and re-enter if necessary.
- When done, click on Submit to post invoice to the Ledgers.
- The Notes button allows you to update notes relating to the customer.
- Note: you can create a new nominal code if necessary.
You can also post VAT only invoices (corrections) as follows –
Enter the Gross amount on the header tab and the same amount into VAT. On the Invoice Details tab leave the net amount as 0.00 Add Line and Submit.
0 Comments