Post Purchase Invoice
Purpose:
To post invoices individually – for those not matched to a purchase order.
Preparation:
Decide whether you wish all purchase invoices and credit notes to have a sequential number – this is the default. If not go to Set Supplier Preferences and against Purchase order numbering method select Manual. If you do not wish to use the default we recommend you use the Supplier’s Invoice/Credit Note number as the Reference.
Processing:
Click on Suppliers > Post Invoice
Opens the Select Supplier form – see Edit Supplier to view form.
Select the supplier from the dropdown box or the cloud link list to open this form.
Purchase Invoice Header
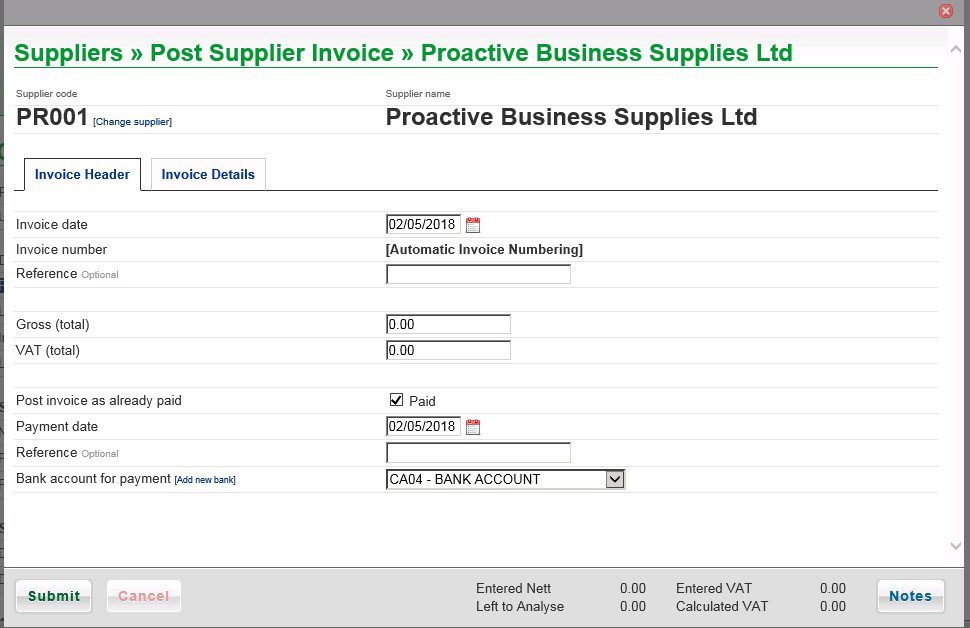
- Enter Date – see datepicker.
- See Preparation above before entering Invoice number/Reference.
- Enter total amount (Gross) from the invoice.
- If the invoice has already been paid tick the Post invoice as already received checkbox – the Payment date and default Bank account will appear – amend if necessary and enter Reference – the system will post an entry to the bank account and the supplier account when submitted.
- Note: You can change supplier account if wrong one selected and add a new bank.
- Click on the Invoice Details tab.
Purchase Invoice Details
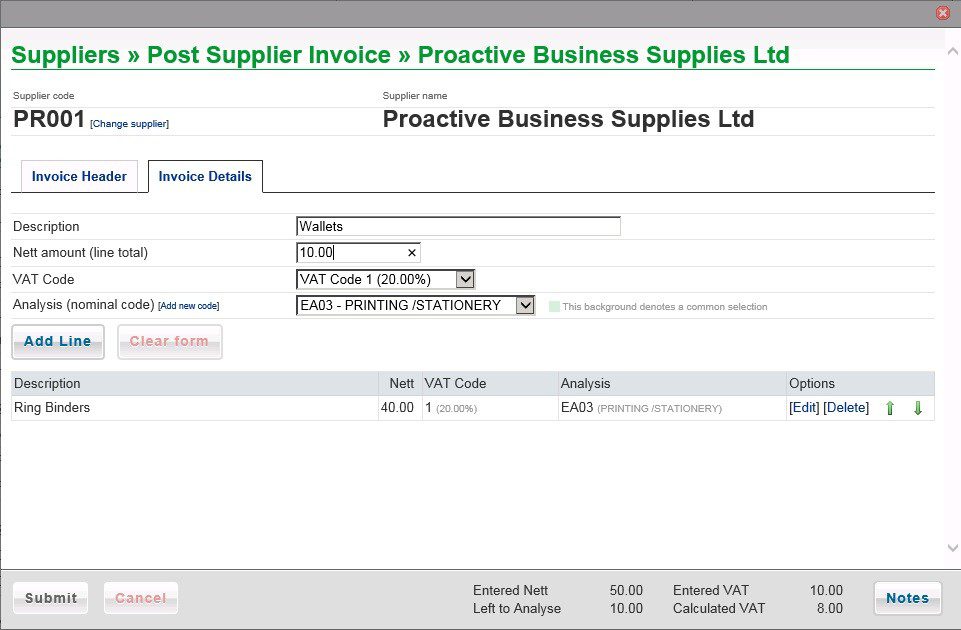
- Enter a Description for each line on the invoice.
- Enter Nett amount for the line, select VAT Code and Analysis Code.
- Click on Add Line to add to grid and update the Calculated VAT.
- Repeat until Left to analyse = nil and Entered VAT and Calculated VAT are the same – you may need to amend the VAT on a line – Click on [Edit] on the appropriate line in the grid.
- You can also delete a line and re-enter if necessary.
- When done, click on Submit to post the invoice to the ledgers.
- The Notes button allows you to update notes relating to the supplier.
- Note: you can create a new nominal code if necessary
Post Invoice from Purchase Order
To update a Purchase order when the invoice has been received go to Supplier Overview > pending – select the Purchase Order then click on [View].
This opens up the order.
Go to Select Activity and click on Convert to Invoice.
The Advance to Supplier Invoice form opens – identical format to Purchase Order.
Enter Date, Invoice number and References on header page.
If all items received, click on Submit to post invoice.
If some items still outstanding leave until all items received or amend – split.
You can also post VAT only Invoices (corrections) as follows –
Enter the Gross amount on the header tab and the same amount into VAT. On the Invoice Details tab leave the net amount as 0.00 Add Line and Submit.
0 Comments